Steps For Changing Reverse Osmosis Filters. --------------------------------------------------------------------------
1. Shut Water and Release Water Pressure
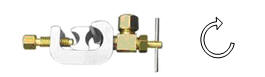
a) Shut Water Into System. With valve handle facing you, turn the handle clockwise to shut water. This is the same direction as if you are turning a screw into the wood. OR, you may just want to turn off the main water valve for the entire house if that is easier.
Caution: Dont over turn or use too much force.
b) Shut Water Tank. At top of tank, there is a blue handle. To shut, turn the blue handle such that it is perpendicular to the water line.
c) Open Drinking Water Faucet For Releasing Water Pressure. If no water comes out of the faucet, then this confirms that all water source is shut.
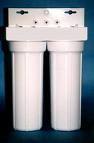
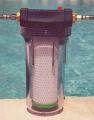
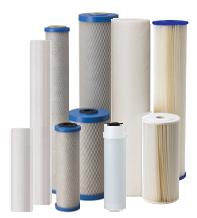
2. Changing Stage 1, 2, 3 Pre-filter Set
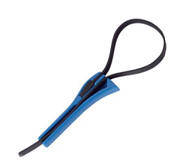
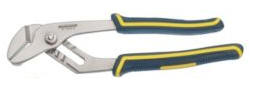
a) Use a wrench to open the vertical filter housing. You may have 2 or 3 vertical housing depending on types. b) Remove old filters. c) Use soap and paper towel to clean the inside of the filter housing and rinse with water. Do not use anything that may scratch the surface. d) Wash hand with soap, then put in the new filters and avoid touching the filter directly to avoid dirtying filters. e) Remember, the order of the filters. Stage1=sediment, Stage2=carbon block or GAC, Stage 3=carbon block
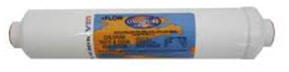
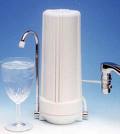
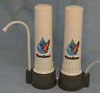
3. Changing Post Filters/Polishing Filter
The arrow shown on the filter is the water flow to the faucet, this is very important. Remove the plugs from the new filter and replace old filter.
Three Types: Type1 : Threaded Ends Here, you will just unscrew the old filters and put in the new filter.
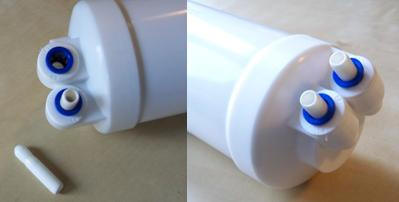
Type 2: Single or Double Quick Connector Ends These uses quick connect technology. It is simple but there is a trick to disconnect the water line. If you do not know, you must visit here to How to work with Quick Connect fittings.
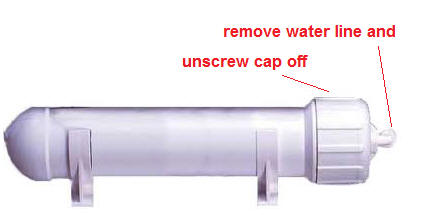
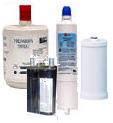
4. Changing The Membrane
a) Remove water line at end of cap. Remember the location of the lines for reconnection. b) Unscrew the cap off the housing using 2 wrenches. You can us strap wrench and/or plumbers wrench. c) Pull out the old membrane. d) Put in new membrane, but your hand should be clean and try to avoid touching the membrane directly. You do not want to contaminate the new membrane. e) Reconnect the water lines.
5. Restarting System After Changing Filters
a) Check all the water lines connectors are tight. b) Check all the housing are screwed on tight, at the same time do not over turn. c) Slowly re-open the saddle valve to let water into the system. d) Test for water leads by closing the water faucet for 30 seconds and check for any water leakage. Then, open faucet for 30 second to let all the air out, then close for 30 seconds and check for water leakage. e) If no leakage, then you can open the water tank, handle pointing to the water line. Open the faucet and let all the water out of the tank. f) Flushing New Filters 3 Times: Close the faucet to let the system to produce water for 3-4 hours, by now the tanks should be full. Open the faucet and let all the water out. Repeat this step 2 more times. Then your system is ready for normal use.